
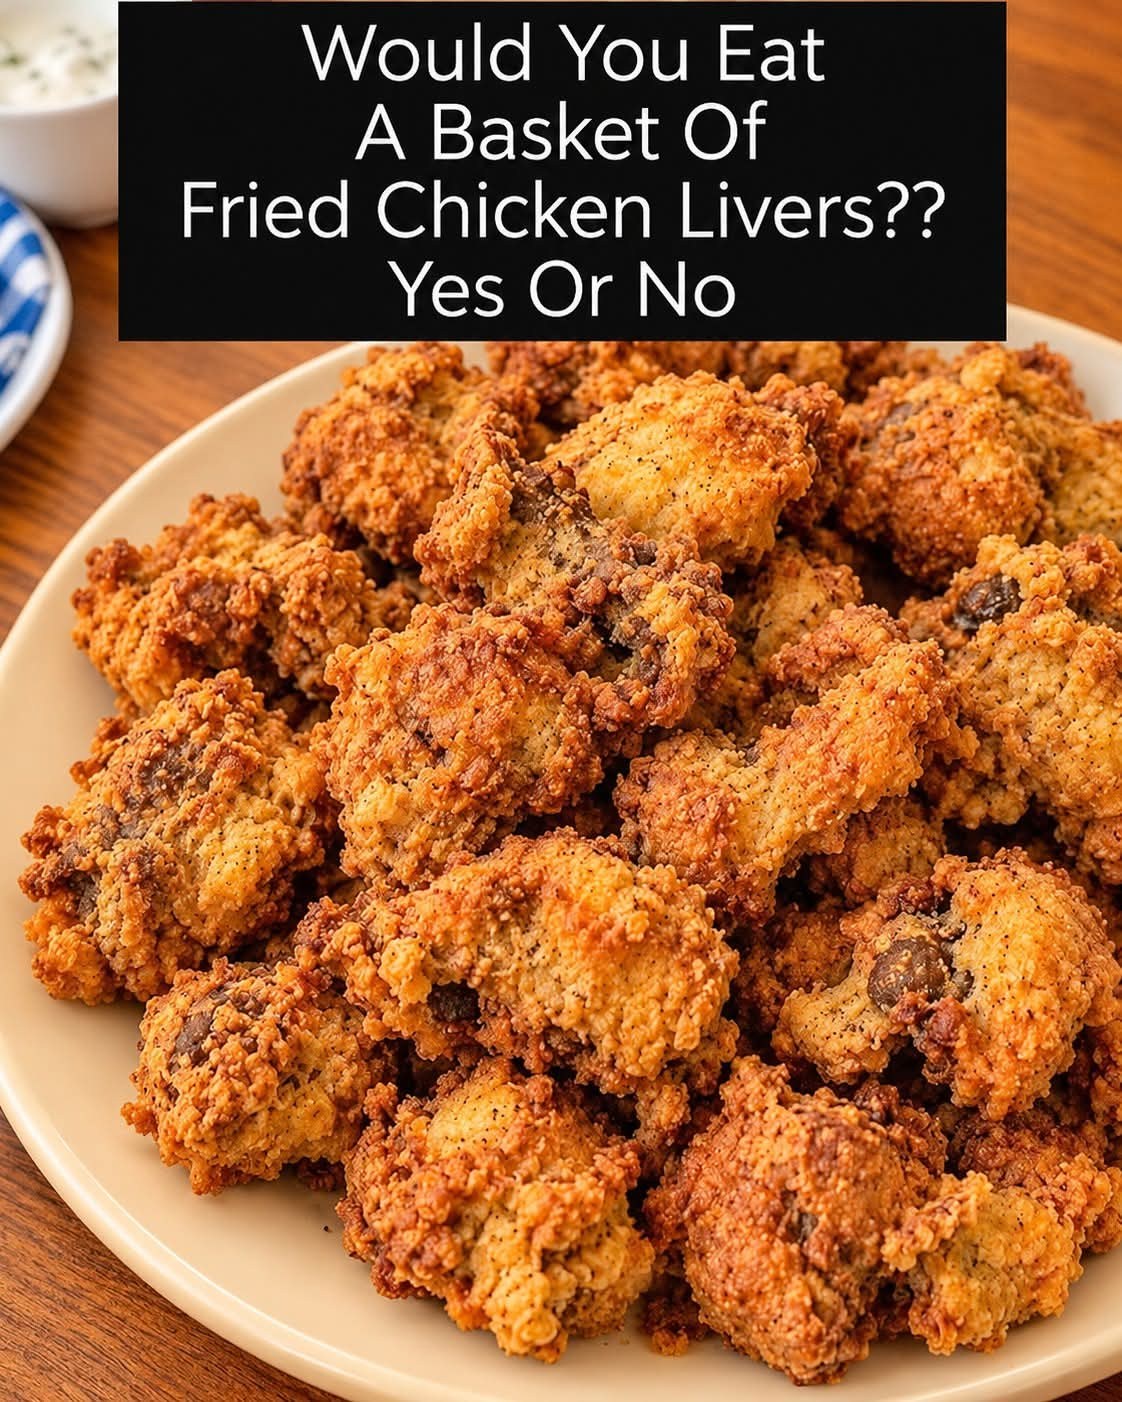
Southern fried chicken livers are one of those humble dishes that deserve far more attention than they get. Tender, rich livers soaked in tangy buttermilk and coated in a peppery, paprika-spiced flour and cornmeal crust, then fried until golden, make a wonderful main dish or a crowd-pleasing appetizer. This Southern fried chicken livers recipe is written for home cooks who want authentic flavor without any complicated techniques.
This recipe serves 4 and comes together in about 55 minutes total, including roughly 20 minutes of prep and 1 hour of soaking time, plus 15 minutes of frying. Most of the waiting happens in the refrigerator, so the active work is short. It is a great choice for a weeknight supper, a casual gathering or a plate of snacks for game day.
Why you’ll love this Southern fried chicken livers recipe
- The buttermilk soak mellows the strong, mineral flavor of the livers, leaving them rich but never bitter.
- The seasoned flour and cornmeal coating fries up with a shatteringly crisp, deeply golden crust.
- Ingredients are pantry staples, so you can make this dish on short notice without a special shopping trip.
- Frying takes only minutes per batch, which makes this a fast way to get a hearty, satisfying meal on the table.
- The spice blend of paprika, garlic, onion and cayenne gives the livers a gentle heat that pairs beautifully with cool ranch dressing.
Ingredients
- 1 lb (450 g) chicken livers, trimmed and halved
- 1 cup buttermilk
- 1 tsp hot sauce
- 1 1/2 cups all-purpose flour
- 1/2 cup cornmeal (optional)
- 2 tsp paprika
- 1 tsp garlic powder
- 1 tsp onion powder
- 1 tsp black pepper
- 1 1/2 tsp salt
- 1/2 tsp cayenne pepper
- Vegetable oil or peanut oil for frying
- Ranch dressing or hot sauce for serving
Fresh chicken livers should be firm, glossy and a deep reddish-brown with no strong odor. Look for livers that are uniform in color and free of green spots, which come from bile and should be trimmed away. Buttermilk gives the best tang and tenderizing effect, but you can use regular milk mixed with a splash of lemon juice in a pinch. Cornmeal adds an appealing crunch, and if you skip it, use an extra half cup of flour. Peanut oil has a high smoke point and a clean flavor, while vegetable oil is a practical and affordable alternative.
Instructions
- Trim the livers. Remove any connective tissue or greenish spots from the livers, then cut any large lobes in half so the pieces cook evenly and quickly.
- Soak in buttermilk. Combine the livers with the buttermilk and hot sauce in a bowl, cover, and refrigerate for at least 1 hour or up to overnight. This step mellows the flavor and keeps the meat moist.
- Season the flour. In a shallow dish, whisk together the flour, cornmeal, paprika, garlic powder, onion powder, black pepper, salt and cayenne until evenly combined.
- Heat the oil. Pour 2 inches of oil into a deep skillet or Dutch oven and heat it to 350°F (175°C). Use a thermometer so the temperature stays steady throughout frying.
- Dredge the livers. Lift the livers from the buttermilk, letting excess drip off, then press them firmly into the seasoned flour to coat all sides. For an extra-craggy crust, drizzle a spoonful of buttermilk into the flour, toss with your fingers to form clumps, and dredge the livers once more.
- Fry in batches. Lower the coated livers carefully into the hot oil without crowding the pan. Fry for 3-4 minutes, turning once, until deep golden brown and cooked through.
- Drain. Transfer the fried livers to a wire rack or paper towels and sprinkle lightly with a little extra salt while they are still hot.
- Serve. Serve the livers hot with ranch dip or your favorite hot sauce.
Tips for the best results
- Do not overcook the livers. They should be just cooked through, because overcooking makes them dry and grainy.
- Pat the livers dry before dredging. Removing surface moisture helps the flour adhere and produces a crispier crust.
- Keep the oil at 350°F (175°C). If it runs too cool, the coating will absorb grease, and if it runs too hot, the outside will burn before the center is done.
- Avoid crowding the pan. Too many pieces at once drop the oil temperature and lead to soggy, pale results.
- Let the dredged livers rest on a rack for a few minutes before frying so the coating sets and clings better.
- Fry the livers in small batches and skim stray bits of flour from the oil between batches to keep the oil clean and tasting fresh.
Variations and substitutions
- Gluten-free: Replace the all-purpose flour with a good gluten-free flour blend and keep the cornmeal for extra crunch.
- Spicier version: Increase the cayenne pepper or add a pinch of crushed red pepper flakes to the flour for more heat.
- Herb-forward: Stir a teaspoon of dried thyme or dried oregano into the seasoned flour for an earthy twist.
- Air-fried option: Spray the dredged livers with oil and cook in an air fryer at 380°F (193°C) for 8-10 minutes, shaking the basket halfway through.
- Chicken tenders style: Use the same coating on chicken breast strips for a fried chicken alternative with a similar seasoning profile.
Serving suggestions
Fried chicken livers are wonderful served piping hot on their own with a bowl of ranch dressing for dipping. For a fuller meal, pair them with creamy mashed potatoes and buttery green beans or collard greens. A wedge of cornbread or a basket of buttermilk biscuits soaks up any extra sauce and rounds out the Southern theme. For a lighter plate, serve the livers over a crisp green salad with a tangy vinaigrette. Hot sauce on the side lets everyone adjust the heat to their taste.
Storage and reheating
Fried chicken livers are best eaten within a few minutes of frying, while the crust is at its crispest. Leftovers can be stored in an airtight container in the refrigerator for up to 2 days. To reheat, spread them on a baking sheet and warm in a 375°F (190°C) oven for 5-7 minutes, or use an air fryer for a few minutes until the coating crisps again. Avoid the microwave, which will leave the coating soft and rubbery.
Frequently asked questions
Why do I need to soak chicken livers in buttermilk?
Soaking in buttermilk mellows the strong, slightly metallic taste of chicken livers and helps keep them tender. The mild acidity of the buttermilk also helps the flavors of the seasoning come through. An hour in the refrigerator is enough, though an overnight soak gives an even milder result.
How do I know when chicken livers are fully cooked?
Chicken livers are done when they are no longer pink in the center and feel firm when pressed gently. Cut one piece open to check. They usually cook through in 3-4 minutes of frying, so avoid leaving them in the oil longer than necessary to prevent dryness.
Can I make fried chicken livers without a deep fryer?
Yes, a deep skillet or heavy Dutch oven works very well. Use enough oil to come about 2 inches up the sides, and use a clip-on thermometer to keep the temperature near 350°F (175°C). Frying in batches gives you the best control.
What is the best oil for frying chicken livers?
Peanut oil is a traditional favorite for Southern fried foods because of its high smoke point and clean taste. Vegetable oil is a practical and widely available alternative. Either choice works well as long as you keep the temperature steady.
Can I freeze fried chicken livers?
You can freeze cooked chicken livers for up to a month, but the coating will lose some of its crispness. Cool them completely, freeze in a single layer, then transfer to a freezer bag. Reheat from frozen in a hot oven or air fryer for the best texture.
Final thoughts
Southern fried chicken livers prove that simple ingredients and careful technique can produce something truly special. The buttermilk soak, the spiced crust and the quick fry combine into a dish that is hearty, flavorful and surprisingly easy to master. Gather your ingredients, set aside an hour for soaking, and give this recipe a try. Once you taste the crisp, tender livers straight from the oil, you may find yourself making them again and again.