
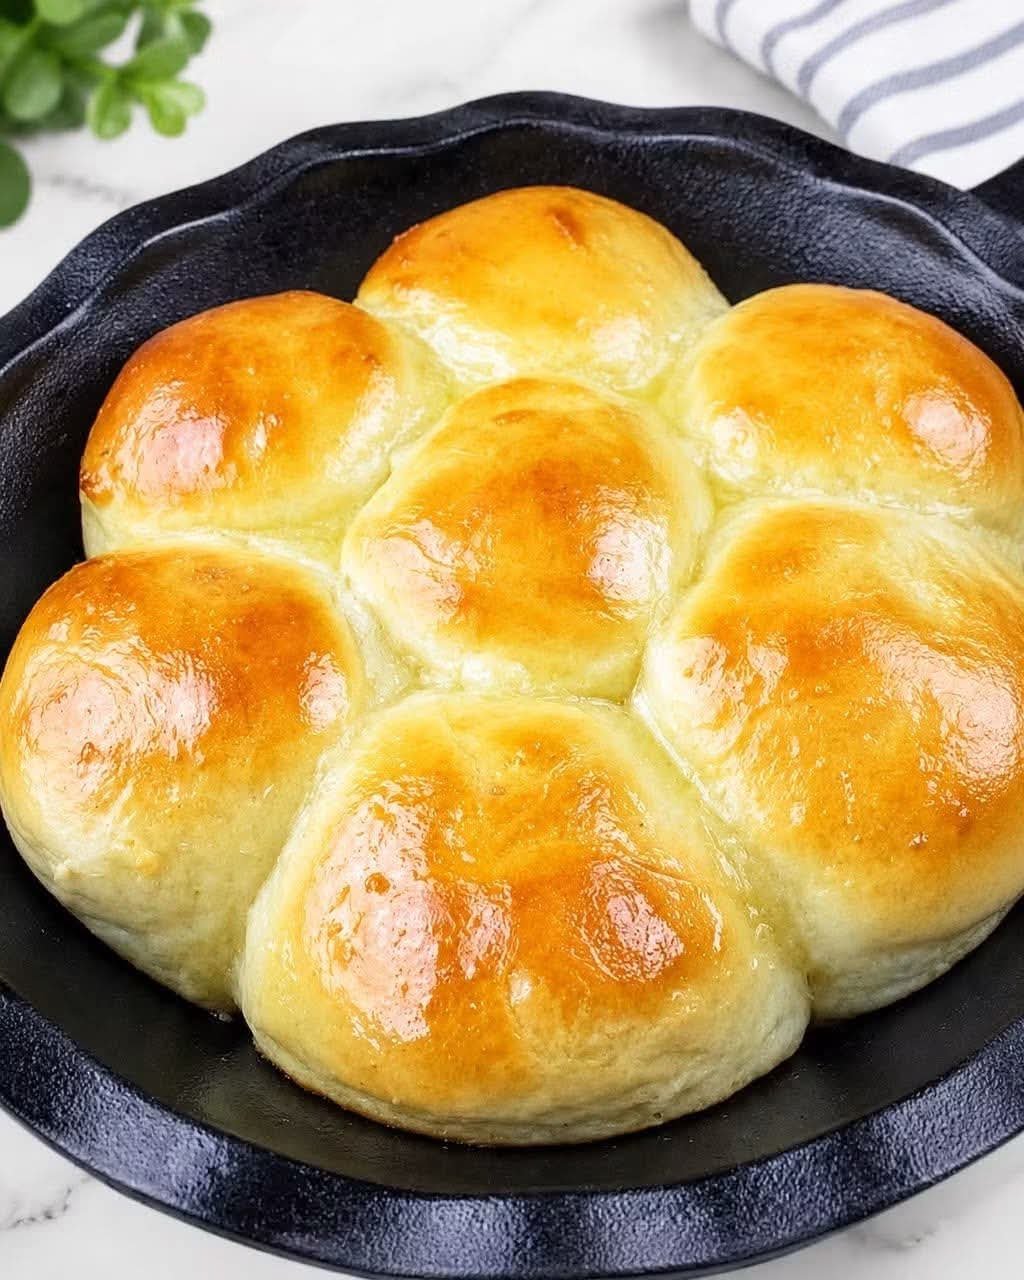
# Mother’s Refrigerator Rolls Recipe
When it comes to home baking, few things can compare to the warmth and comfort that freshly baked bread brings to our tables. One of the most cherished recipes passed down through generations is the classic Mother’s Refrigerator Rolls. These scrumptious rolls are not only easy to make but also versatile, perfect for any occasion. In this article, we will explore the delightful world of refrigerator rolls, providing you with a step-by-step recipe that will make you the star baker at your next family gathering.
## What are Refrigerator Rolls?
Refrigerator rolls are a type of bread dough that can be prepared in advance and stored in the refrigerator for several days. This unique bread-making technique allows you to save time without sacrificing the quality of your rolls. The dough rises slowly in the refrigerator, allowing for enriched flavors and a soft texture that everyone loves. Typically, these rolls are served warm, brushed with butter, and can accompany any meal from holiday dinners to casual BBQs.
## Ingredients You Will Need
To prepare your Mother’s Refrigerator Rolls, gather the following ingredients. Be sure to use high-quality pantry staples for the best results:
– 1 cup of warm water (about 110 degrees Fahrenheit)
– 1/4 cup granulated sugar
– 2 packets (or 4 1/2 teaspoons) active dry yeast
– 1/2 cup of milk (whole milk is preferred)
– 1/4 cup unsalted butter, melted
– 1 large egg
– 3 1/2 to 4 cups all-purpose flour
– 1 teaspoon salt
These ingredients work together harmoniously to create delicious, fluffy rolls that will melt in your mouth.
## Step-by-Step Instructions
### Step 1: Activate the Yeast
Start by measuring 1 cup of warm water into a small bowl. Make sure the water is not too hot, as boiling water can kill the yeast. Add the granulated sugar and sprinkle the active dry yeast on top. Allow this mixture to sit for about 5-10 minutes until it becomes frothy, signaling that the yeast is activated.
### Step 2: Combine the Liquid Ingredients
In a large mixing bowl, combine the melted butter, milk, and egg. Once the yeast has activated, pour it into this mixing bowl. Use a spatula or whisk to thoroughly blend the ingredients until smooth.
### Step 3: Add the Dry Ingredients
Next, sift together 3 1/2 cups of all-purpose flour and the salt into the mixing bowl. Stir the mixture until a dough begins to form. If the dough seems too sticky, gradually add more flour until it becomes a workable consistency.
### Step 4: Knead the Dough
Transfer the dough to a floured surface and knead it for about 5-10 minutes, or until it becomes smooth and elastic. Kneading helps develop the gluten, resulting in lighter and airier rolls.
### Step 5: Let the Dough Rise
Place the kneaded dough into a lightly greased bowl, cover it with a clean kitchen towel or plastic wrap, and let it rise in a warm environment for about 1 hour, or until it has doubled in size.
### Step 6: Refrigerate the Dough
After the first rise, punch down the dough to release the air. You can now place the dough in the refrigerator, where it can be stored for up to 5 days. This is the standout feature of this recipe—you can prepare the dough today and bake delicious rolls whenever you’re ready!
### Step 7: Shape the Rolls
When you are ready to bake, preheat your oven to 375 degrees Fahrenheit. Take the dough out of the refrigerator and divide it into 12 equal pieces. Roll each piece into a ball and place it in a greased baking pan. Brush the tops lightly with melted butter for added flavor and shine.
### Step 8: Final Rise
Cover the rolls with a kitchen towel and let them rise at room temperature for about 30 minutes. They should puff up and fill the pan.
### Step 9: Bake the Rolls
Once the rolls have risen, place them in the hot oven and bake for 15-20 minutes, or until golden brown. The aroma that will fill your kitchen is absolutely heavenly!
### Step 10: Serve and Enjoy
Remove the rolls from the oven and brush them once again with melted butter. These refrigerator rolls are best served warm, right out of the oven. Pair them with your favorite dish, or enjoy them on their own!
## Tips for Perfect Rolls
– **Fresh Ingredients:** Always use fresh yeast and ingredients for the best flavor and texture.
– **Patience is Key:** Allowing the dough to rise slowly in the refrigerator helps develop a richer flavor.
– **Freezing Option:** If you have leftover rolls, they can be frozen for later. Simply wrap them tightly in plastic wrap and place them in an airtight container.
## Conclusion
Mother’s Refrigerator Rolls are a timeless recipe that resonates with families around the world. Their simplicity makes them accessible for bakers of all levels, while the delightful taste and texture ensure they will be a hit at every meal. Whether enjoyed at a holiday feast or as an everyday side, these rolls are sure to impress. By following the steps outlined above, you can create a batch of soft, fluffy refrigerator rolls that will become a family favorite in no time. Happy baking!